

Upload a GeoTIFF
A GeoTIFF (.tif / .tiff) brings raster data onto the map — satellite imagery, elevation models,
land-cover masks, and so on. After the file uploads, CollMap asks how to display it.
Upload it in the app
Section titled “Upload it in the app”-
Open the Upload Layer tab and choose your
.tif/.tifffile. Name it and upload. -
When processing finishes, the band / colormap chooser appears:
-
Single-band rasters (elevation, an index, a mask) — pick a band and a colormap (for example
viridisorterrain), and optionally a value range.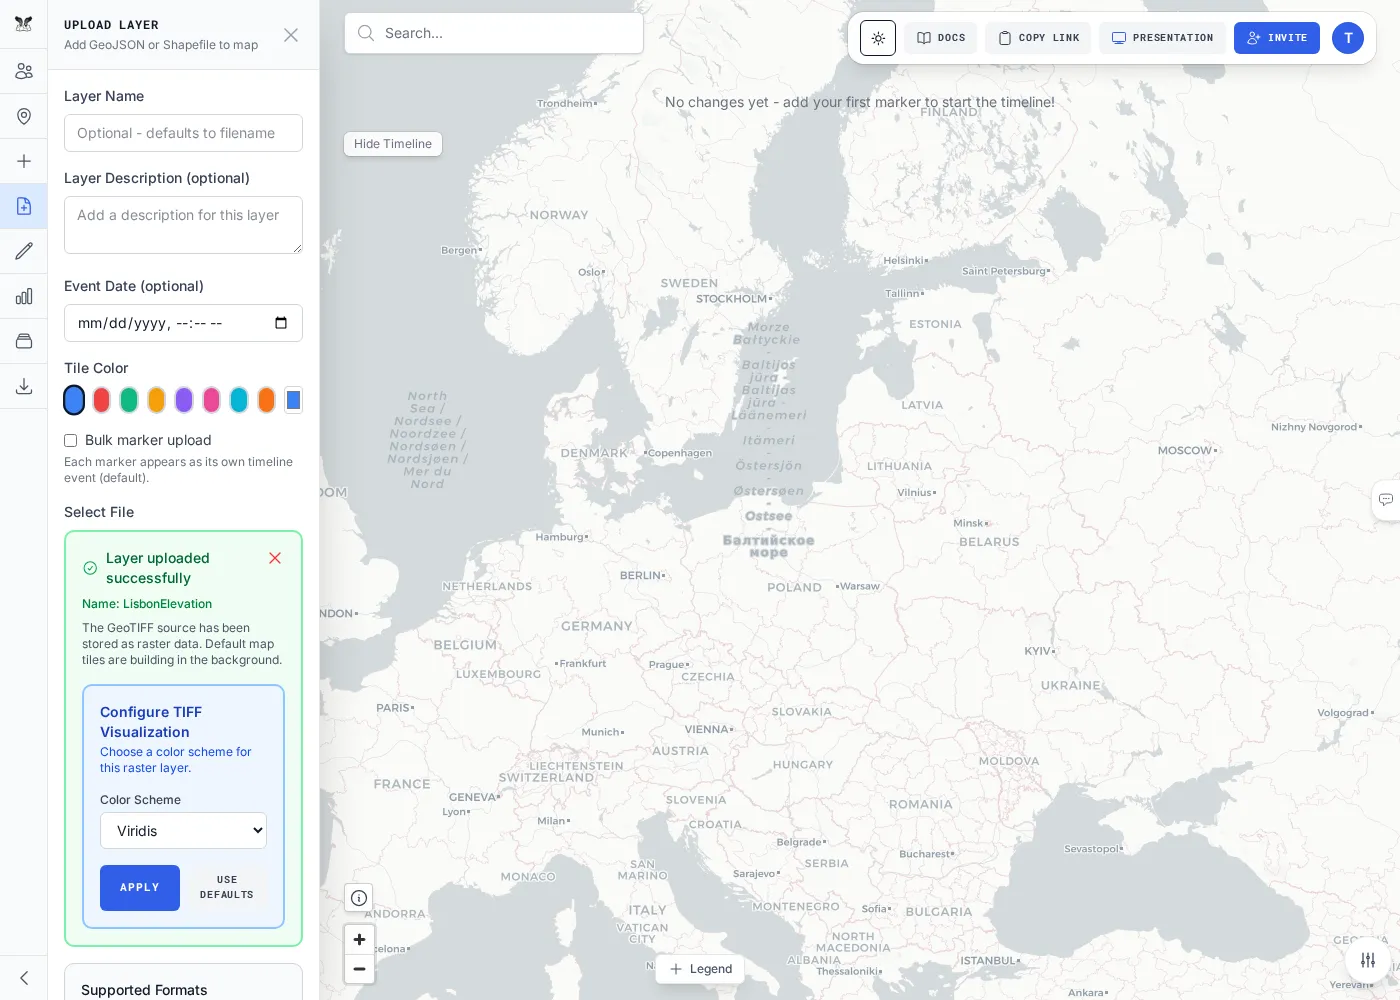
-
Multi-band scenes (e.g. satellite imagery) — choose an RGB composite by assigning three bands to red, green, and blue.
-
-
Apply. The raster renders on the map; you can change its display later from the Layers panel.
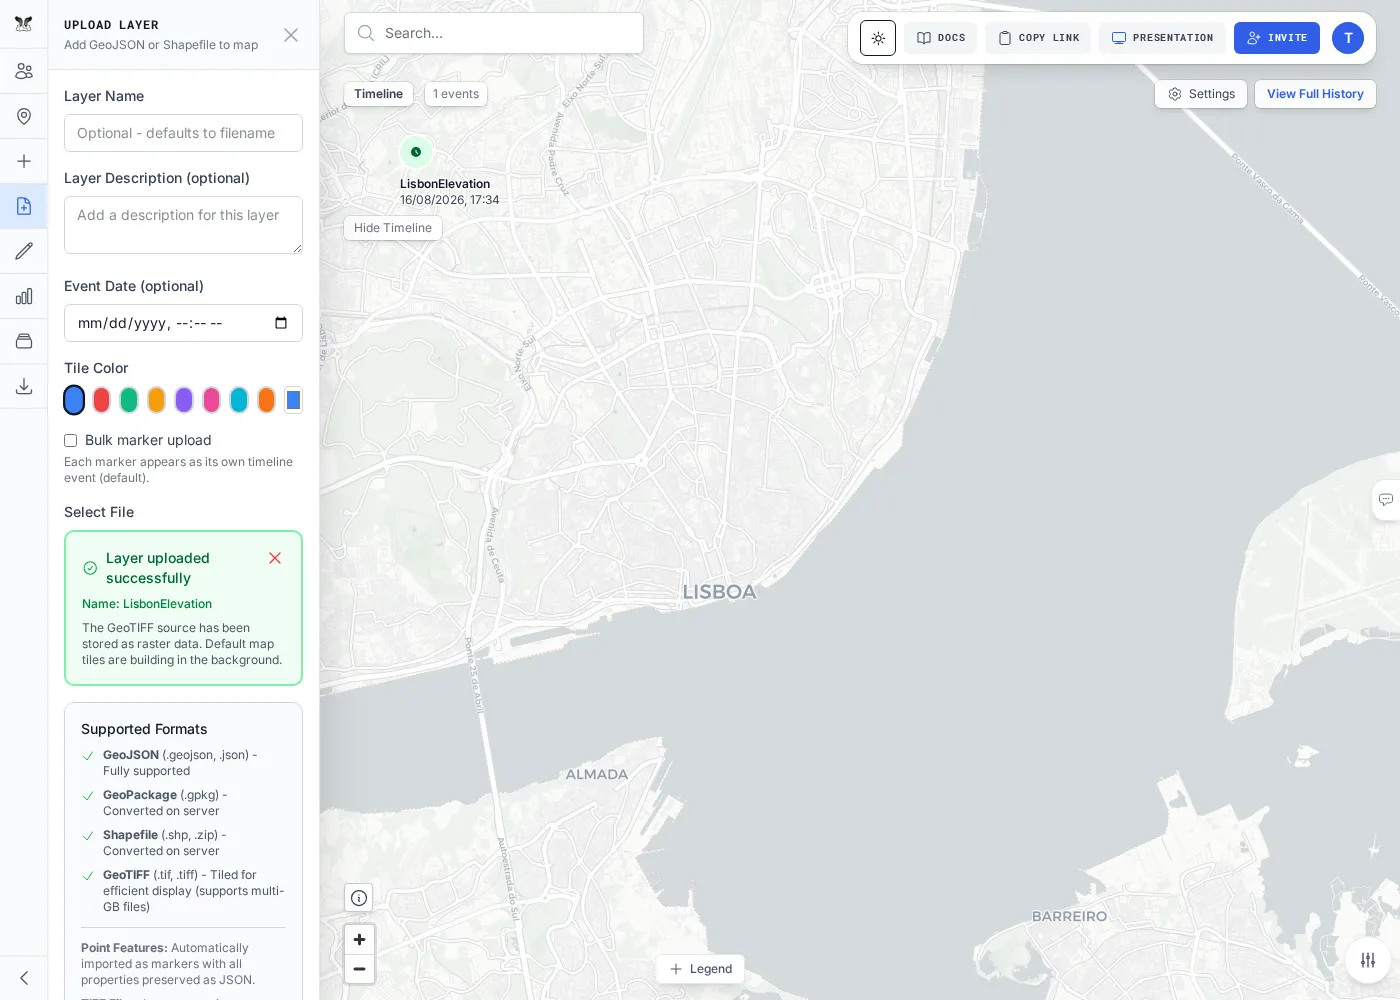
The test suite uses two representative rasters: LisbonElevation.tif (~905 KB, single-band elevation →
colormap) and a Sentinel-2 true-color scene of Basel (~14 MB, multi-band → RGB composite).
Or upload via the API
Section titled “Or upload via the API”Set the display up front in a display field — for a token upload every key is honored and renders
immediately.
curl -X POST "$API/api/layers/upload" -H "Authorization: Bearer $TOKEN" \ -F "roomName=$ROOM" -F "layerName=elevation" -F "file=@LisbonElevation.tif" \ -F 'display={"colormap":"terrain","band":1,"vmin":0,"vmax":1500,"opacity":0.8}'curl -X POST "$API/api/layers/upload" -H "Authorization: Bearer $TOKEN" \ -F "roomName=$ROOM" -F "layerName=truecolor" -F "file=@scene.tif" \ -F 'display={"renderMode":"rgb","rgbBands":[1,2,3]}'Change the display later with PATCH /api/rooms/$ROOM/raster-layers/<id>/display (see the
Raster Layers reference).