

Upload GeoJSON
GeoJSON is the quickest way to get data onto the map. Point features are imported as markers; polygons and lines become a vector layer you can style.
Upload it in the app
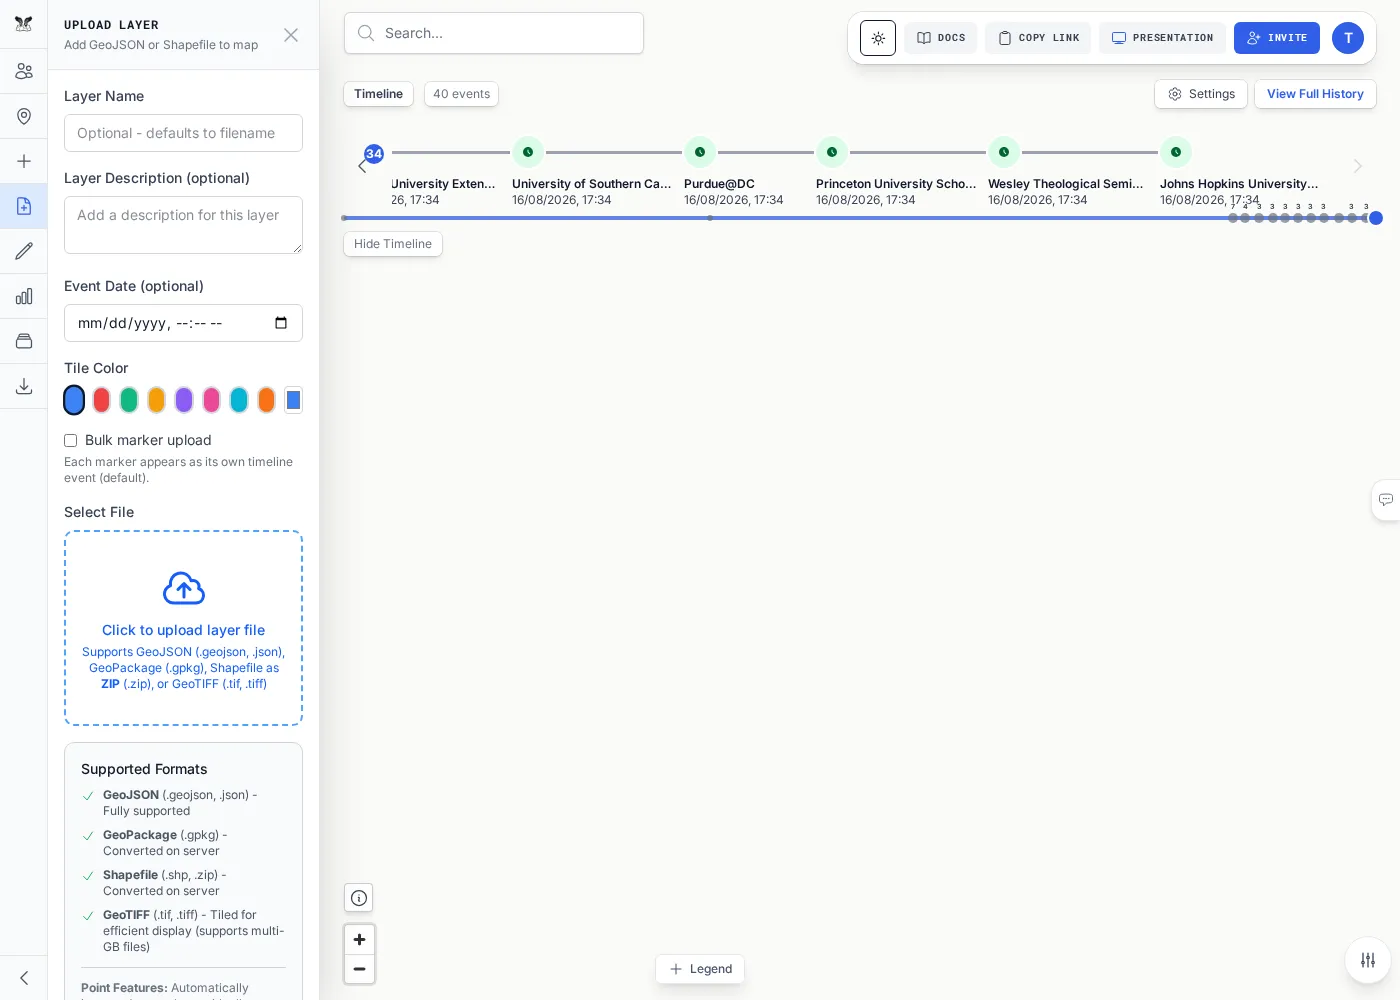
Section titled “Upload it in the app”- Open the Upload Layer tab in the left icon rail and choose your
.geojson(or.json) file. - Give the layer a name and, optionally, a description, color, and event date.
- Upload. Points appear as markers; polygons and lines render as a styled layer.
Try it with an example
Section titled “Try it with an example”Save this as basel-points.geojson and upload it — it drops a single marker near Basel, Switzerland
(this is the exact fixture the test suite uses):
{ "type": "FeatureCollection", "features": [ { "type": "Feature", "geometry": { "type": "Point", "coordinates": [7.59, 47.56] }, "properties": { "title": "api-point" } } ]}Because the feature is a Point, it’s imported as a marker. Swap the geometry for a Polygon and the
same upload creates a vector layer instead:
{ "type": "FeatureCollection", "features": [ { "type": "Feature", "geometry": { "type": "Polygon", "coordinates": [[[7.58, 47.55], [7.60, 47.55], [7.60, 47.57], [7.58, 47.57], [7.58, 47.55]]] }, "properties": { "name": "api-polygon" } } ]}Or upload via the API
Section titled “Or upload via the API”You can push the same file over HTTP with a room API token. Point features still become markers.
curl -X POST "$API/api/layers/upload" -H "Authorization: Bearer $TOKEN" \ -F "roomName=$ROOM" -F "layerName=basel-points" -F "file=@basel-points.geojson"- Point features →
{ "markersCreated": N, "markers": [...], "layer": null } - Polygon / line features →
{ "layer": { "name": ..., "featureCount": N, ... } }
Larger vector uploads return a jobId instead — poll GET /api/layers/jobs/<jobId> until it completes.
See API Quick Start for how to get $API, $ROOM, and $TOKEN.
Next steps
Section titled “Next steps”Upload a ShapefileBring in a zipped shapefile.