

Share & Invite
A room can be shared three ways: by link (anyone you send it to who can sign in), by invitation (named people with a specific role), or by making it public (read-only for anyone with the link).
Roles at a glance
Section titled “Roles at a glance”| Role | Can view | Can edit markers & layers | Can invite / delete |
|---|---|---|---|
| Owner | ✔ | ✔ | ✔ |
| Editor | ✔ | ✔ | — |
| Viewer | ✔ | — | — |
| Public viewer | ✔ (public rooms only) | — | — |
Copy the room link
Section titled “Copy the room link”The fastest way to share is the link. Every room lives at a stable URL — /map/<roomId> — and that
URL is the share link.
-
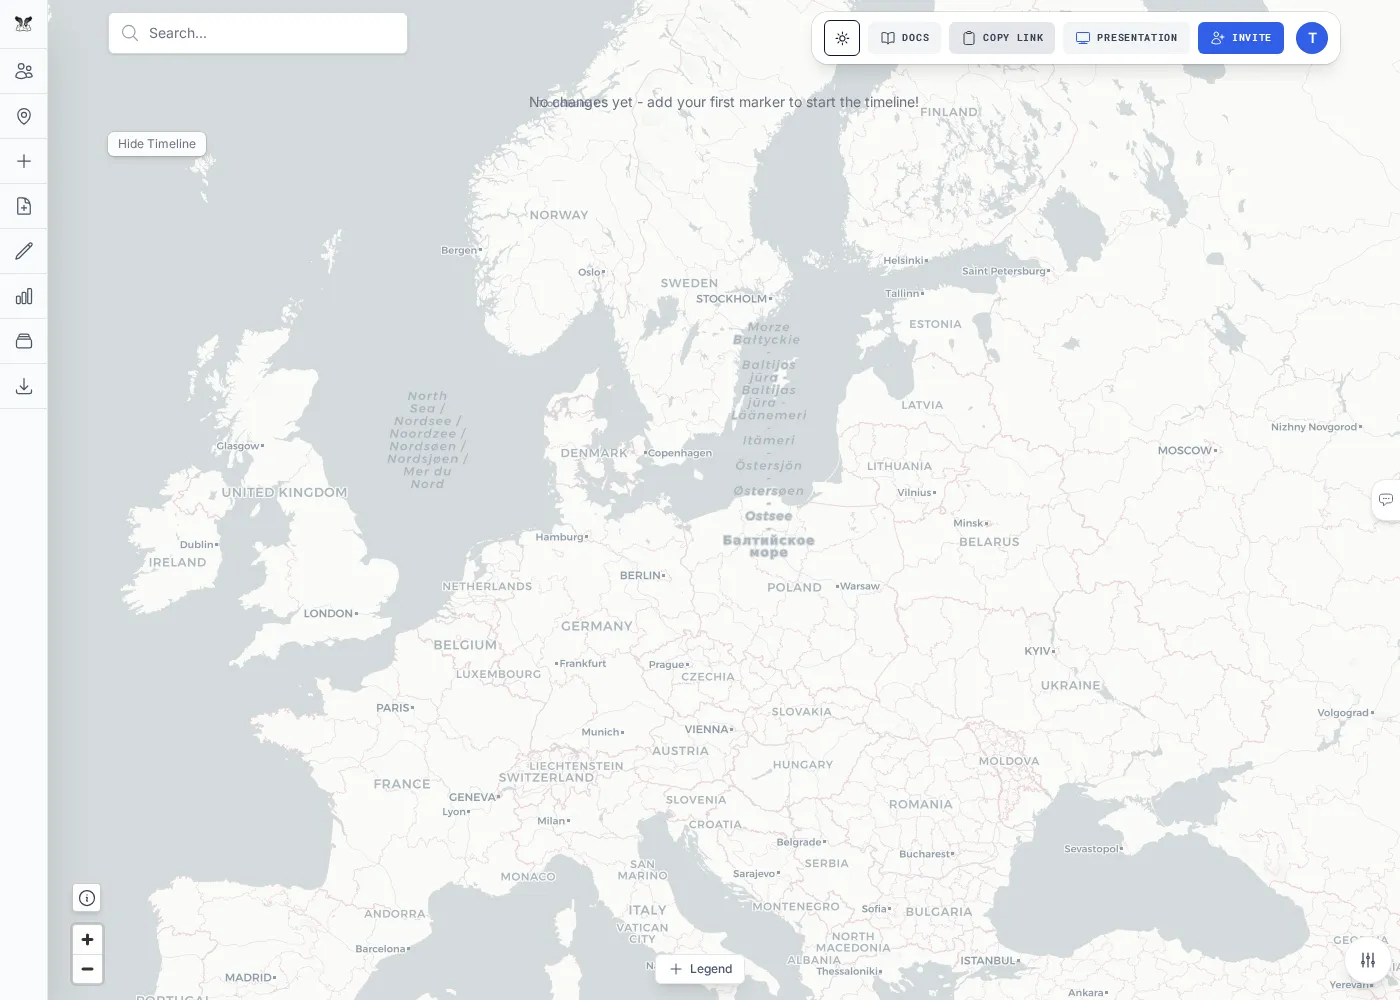
In the room, click Copy Link in the top navbar (it’s also on each room card on the My Rooms dashboard).
-
Paste the link to anyone. If the room is private, they’ll need to sign in and have been invited (or be the owner) to open it. If it’s public, anyone with the link can view it.
Invite collaborators
Section titled “Invite collaborators”Invite specific people by email and choose what they can do.
-
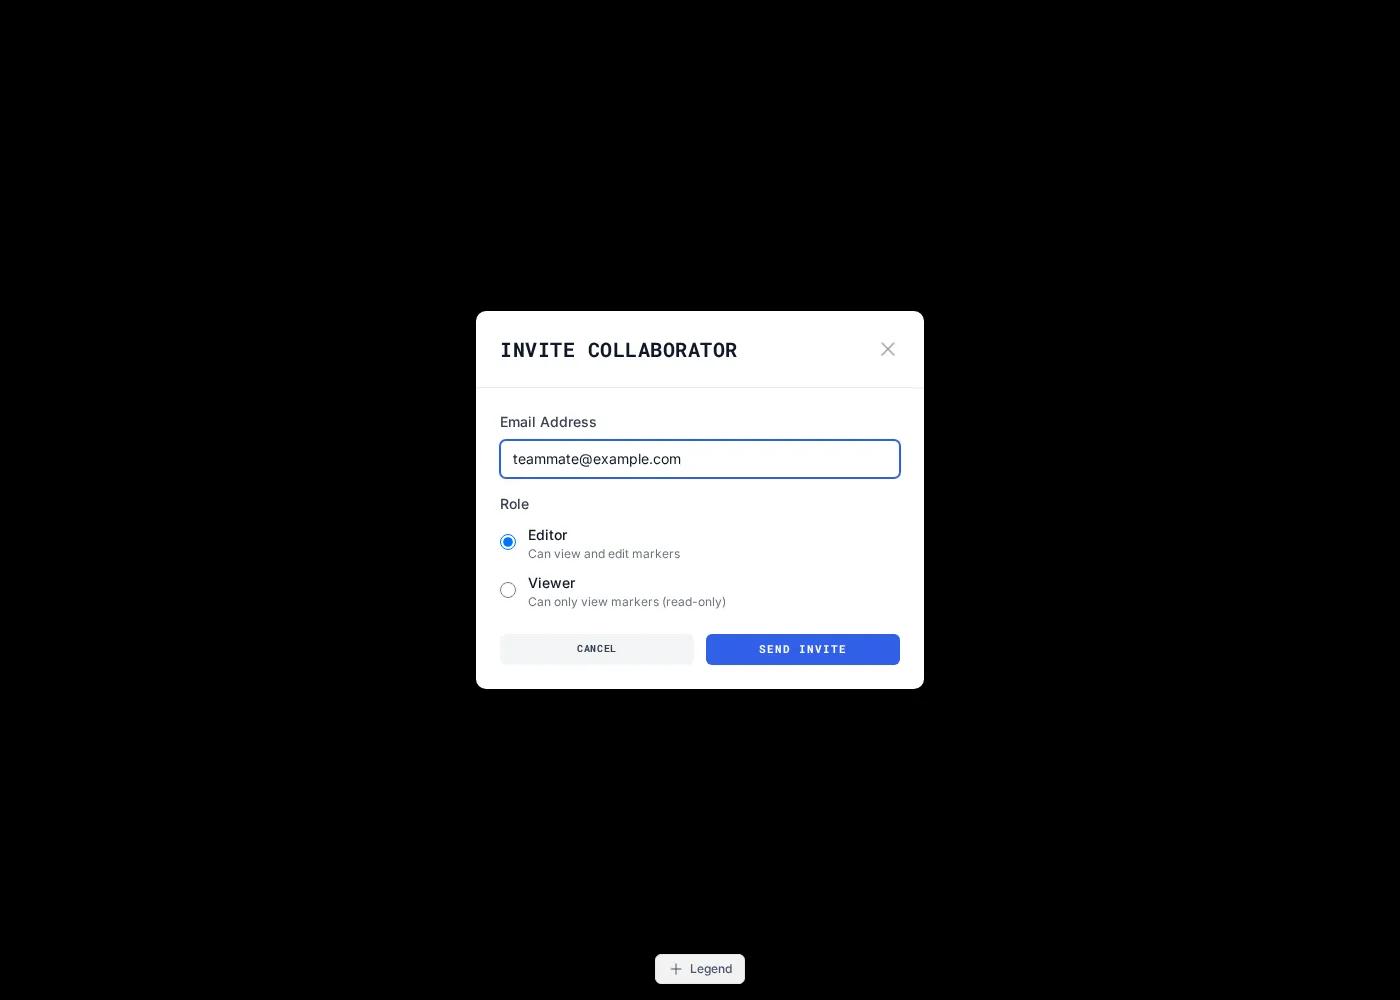
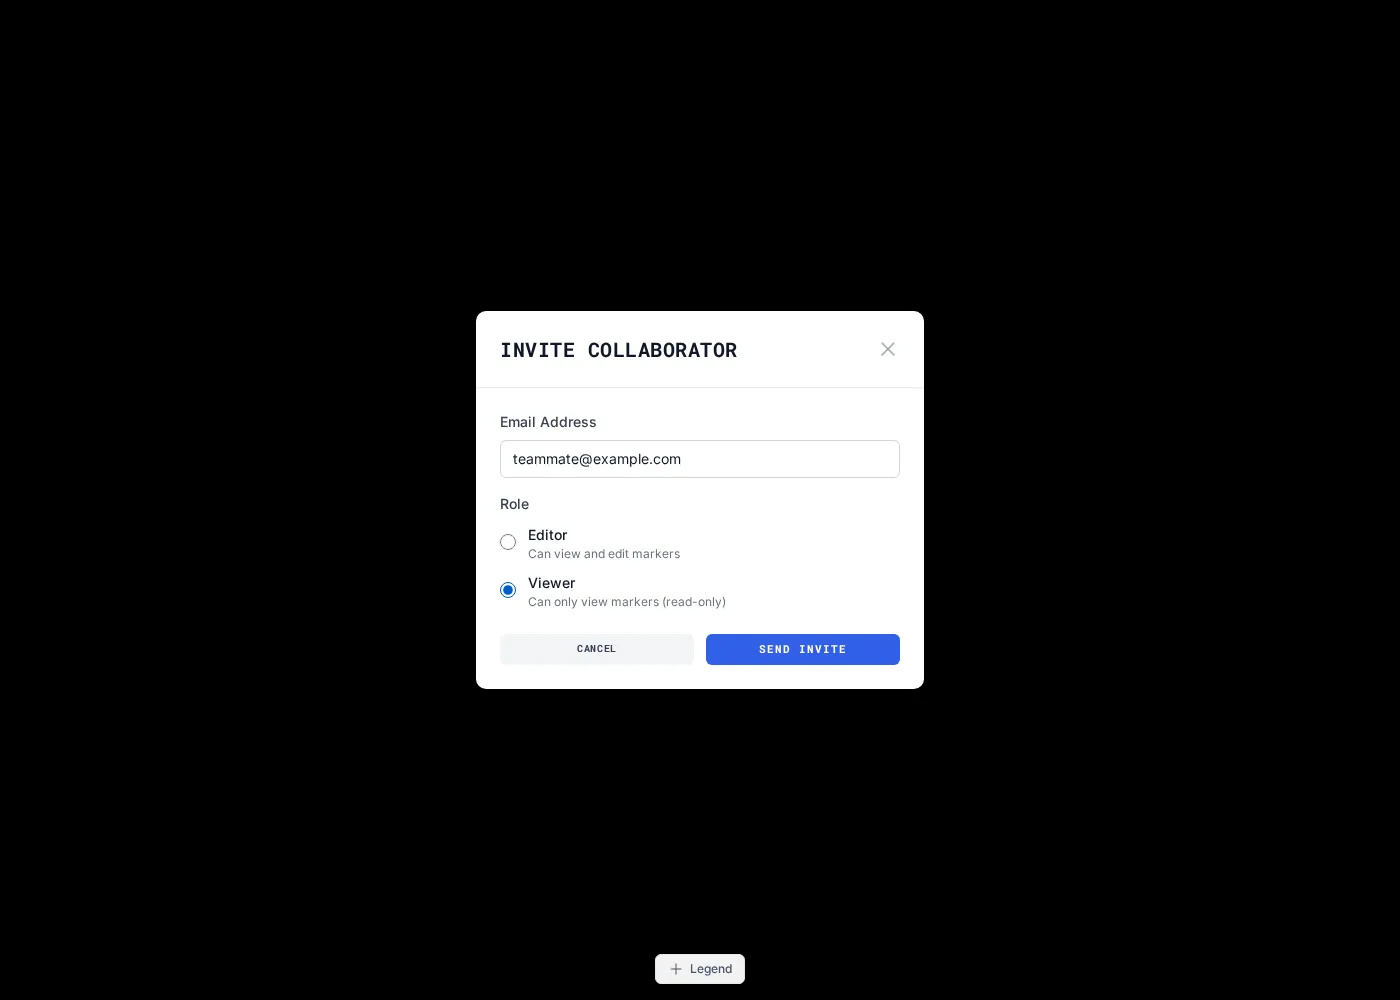
In the room navbar, click Invite (owner only). Enter the person’s email address.
-
Choose a role:
-
Editor — can view the map and add or edit markers, shapes, and layers.
-
Viewer — read-only access.
-
-
Send the invitation. The invitee gets an email, and the pending invitation also appears on their My Rooms dashboard, where they accept it to join.
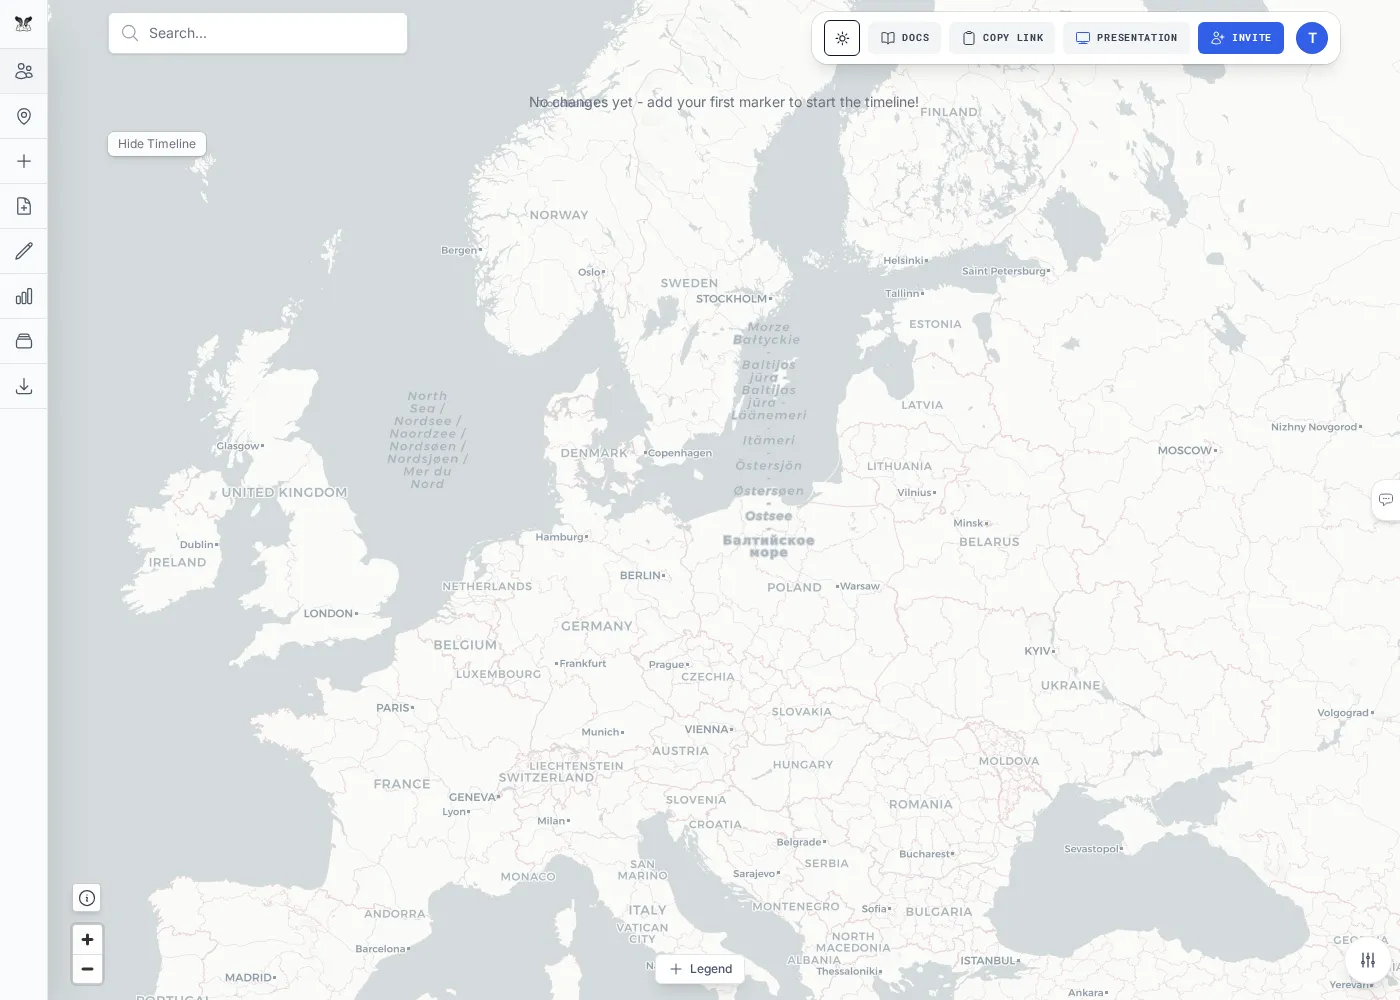
The Members panel (in the left icon rail) lists everyone in the room with their role, and lets the owner remove members.
Make a room public
Section titled “Make a room public”Owners can toggle a room Public. A public room can be opened read-only by anyone with the link — no sign-in required. Public visitors see the map but not the editing panels, and the navbar offers a “Login to Edit” prompt. The room card shows a Public badge so you always know its visibility.