

Create a Room
A room is a single shared map. Everyone with access sees the same markers, drawn shapes, uploaded layers, and timeline — updated live as people work. Creating one takes a single click.
Before you start
Section titled “Before you start”You need to be signed in. CollMap uses your organization’s single sign-on: clicking any protected action sends you to the login screen, and after signing in you land on the My Rooms dashboard.
Create a room
Section titled “Create a room”-
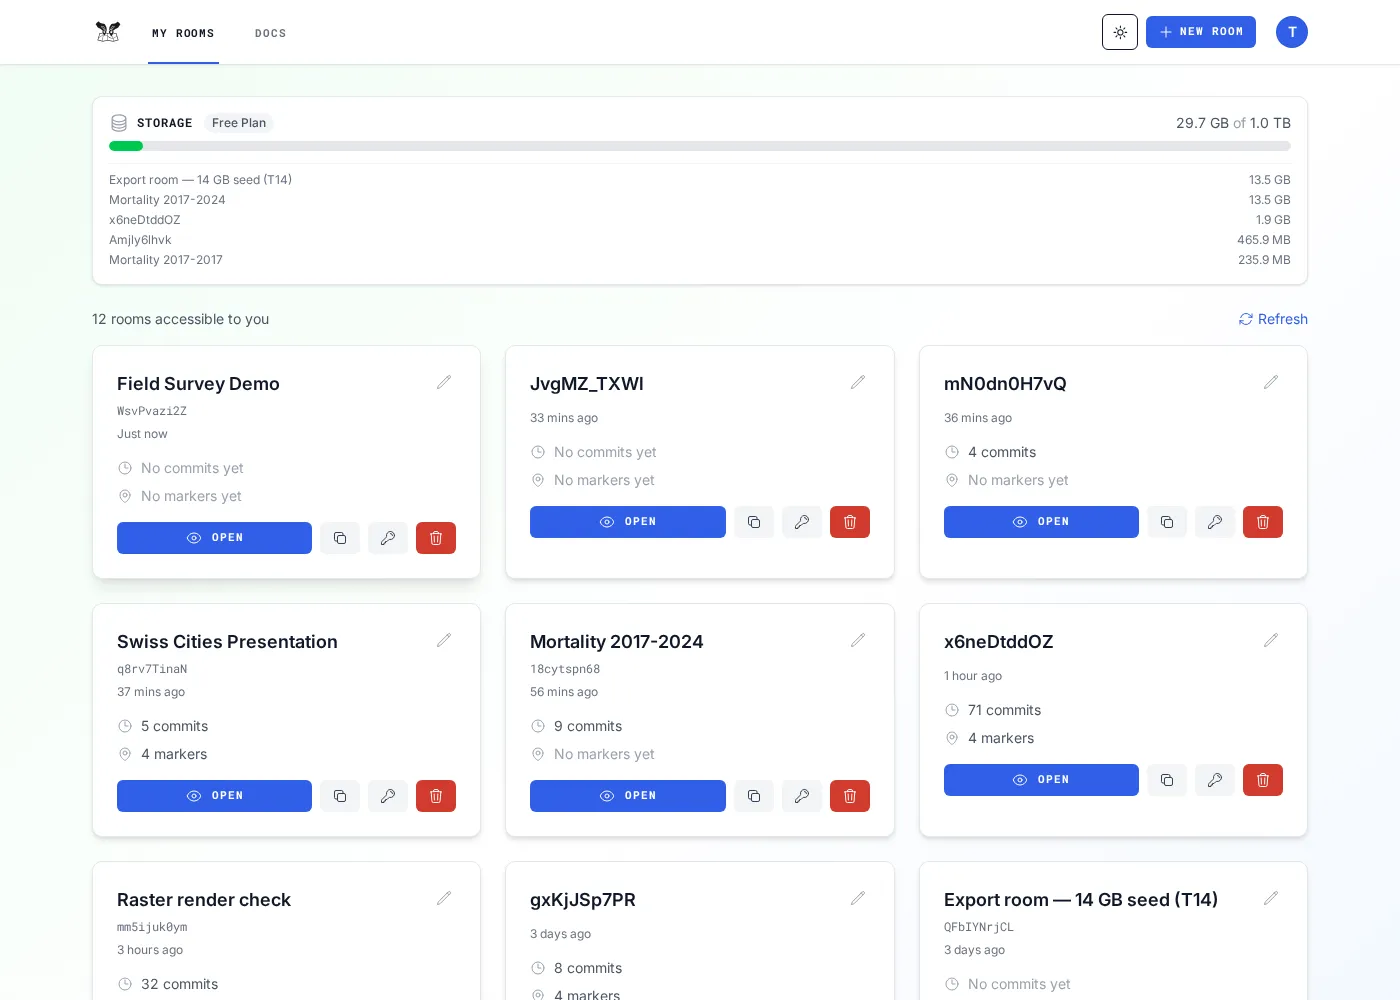
Go to the My Rooms dashboard. This is your home screen after signing in.
-
Click New Room in the top bar.

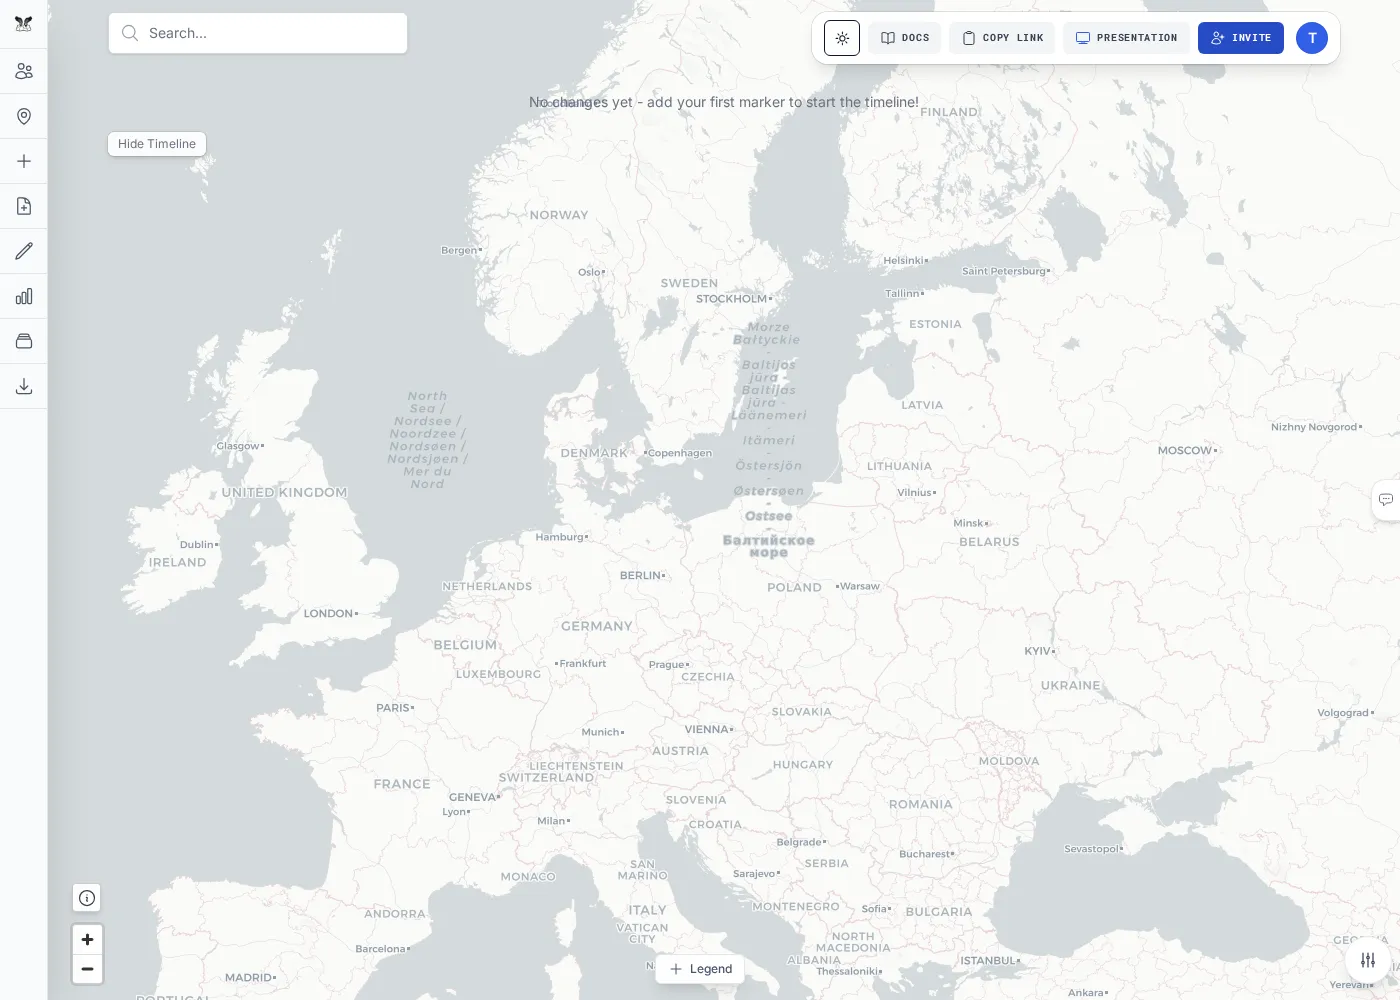
CollMap generates a fresh 10-character room ID and opens the room immediately. The room is created on the server the first time you open it, and you become its owner.
-
You’re now in an empty room — a full-screen map with the collapsible icon rail on the left and the room toolbar across the top. This is where you’ll add markers, draw, and upload data.
Name your room
Section titled “Name your room”New rooms start out named after their ID. Give the room a human-readable name so it’s easy to find later. You can rename it in two places:
-
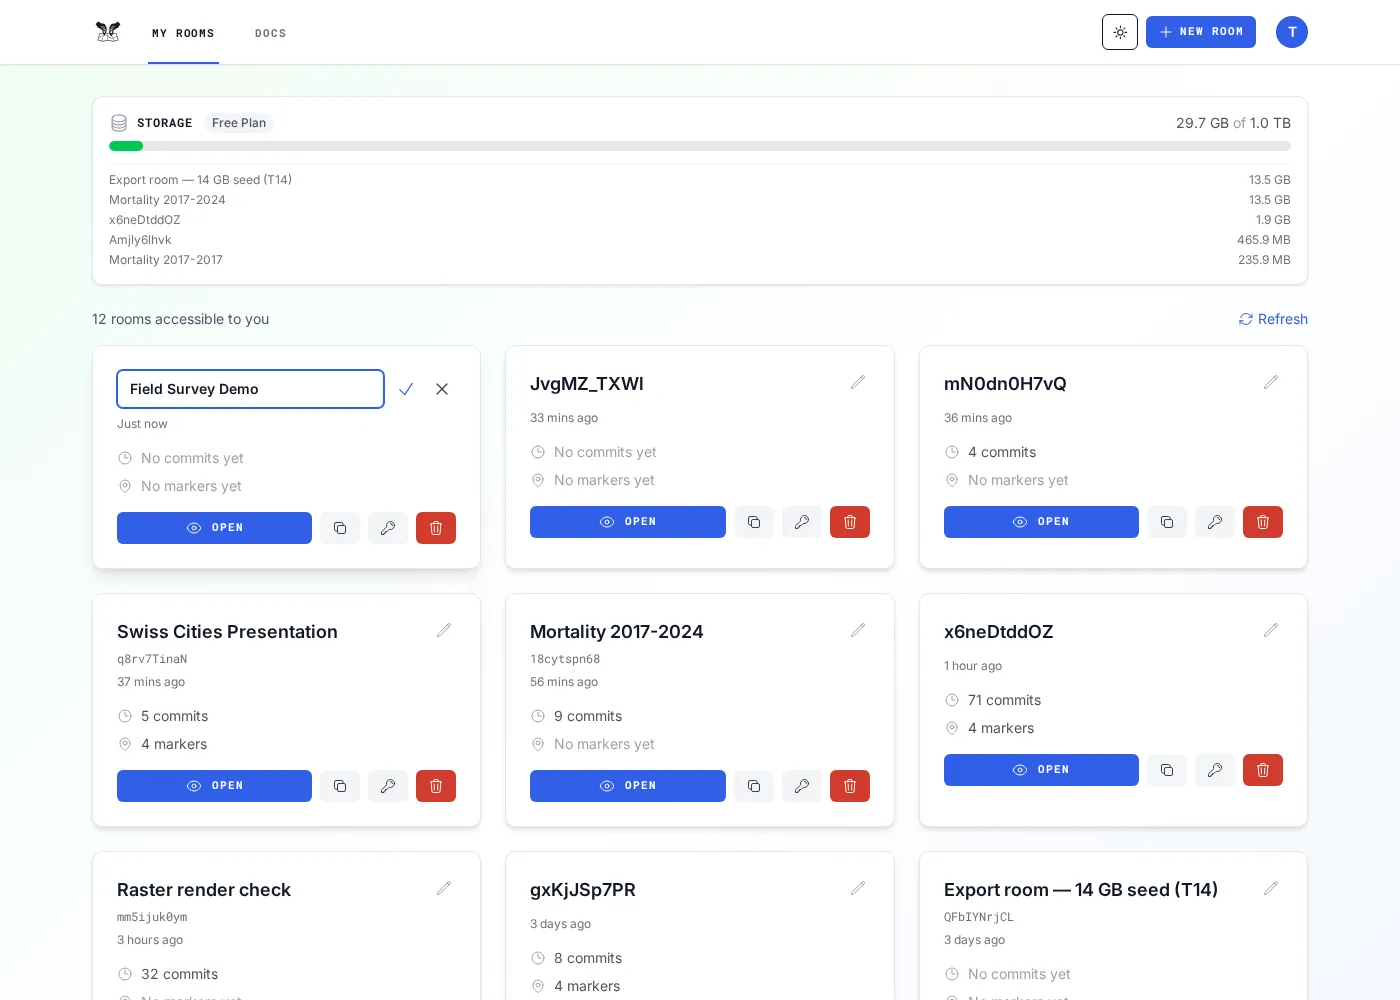
From the dashboard — on the room’s card, click the edit (pencil) icon next to the name, type a name, and save.
-
The card now shows your name above the monospaced room ID.
You can also rename a room from inside it, via the Menu tab at the top of the left icon rail. Only the room owner can rename a room.