

Uploads: Formats & Limits
You bring existing data into a room from the Upload Layer tab in the left icon rail. CollMap accepts the common GIS formats and turns each upload into a layer (or, for point data, into markers).
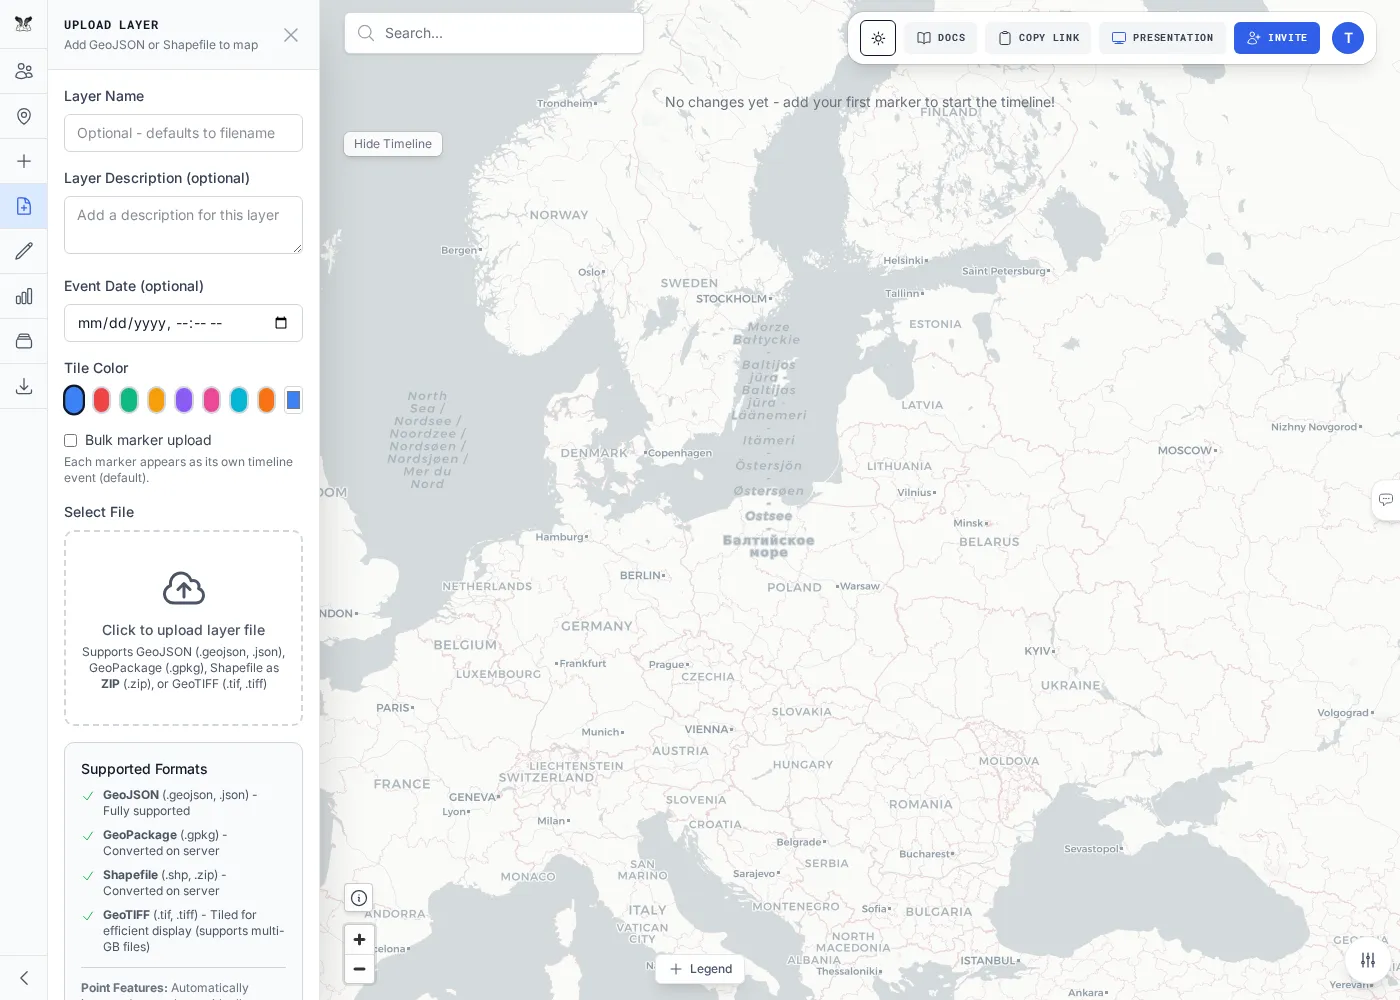
Supported formats
Section titled “Supported formats”| Format | Extensions | Becomes |
|---|---|---|
| GeoJSON | .geojson, .json |
A vector layer — or markers, if the features are points |
| Shapefile | .zip (containing .shp, .shx, .dbf, .prj) |
A vector layer |
| GeoPackage | .gpkg |
One vector layer per table |
| GeoTIFF | .tif, .tiff |
A raster layer (with a band / colormap chooser) |
Each format has a short guide:
How an upload works
Section titled “How an upload works”- Open the Upload Layer tab and choose a file.
- Give the layer a name (and optionally a description, an event date, and a color).
- Upload. CollMap processes the file and adds the layer to the map and the Layers panel.
A few rules apply across all formats:
- Point features become markers. Any upload whose features are points (a point GeoJSON, or a CSV with latitude/longitude columns) is imported as markers rather than a vector layer.
- Large files upload in chunks automatically. Files over 50 MB are split into 5 MB chunks and processed as a background job — you just watch a progress bar; there’s nothing extra to do.
- Vector processing can be asynchronous. For larger vector uploads the map fills in once processing finishes; small files appear right away.
Storage limits & quotas
Section titled “Storage limits & quotas”Each account has one total storage cap shared across all its rooms:
| Plan | Total storage |
|---|---|
| Free | 10 GB |
| Pro | 100 GB |
| Team | 1 TB |
Usage is checked before any bytes are stored, so an upload that would exceed your cap is rejected up front (the form shows the limit). Storage is charged to the room owner, and deleting a layer or a whole room frees it immediately. Track your usage with the bar on the My Rooms dashboard.